Pages

Saturday, 9 November 2013

Sunday, 3 November 2013

Our cake topper finally on display!

I love the cake topper from our wedding and always planned to have it up. Finally, two and a half years later I have!
I found myself a vintage wooden box, put a D ring on the back, and done!

Wednesday, 25 September 2013

Gallery Wall Ideas

Gallery walls are a great way to display photos, nick knacks, books or anything you can hand on the wall!
I was inspired over the weekend to re-do my own after looking at these great examples..


From Liz Marie Blog HERE

Use old window frames to group photos.. Buzzfeed.com

I love the use of colour in this one - its so effective to stick to a couple of colours! From Melissa Tomeoni HERE

Changeable gallery wall! Tutorial at Love Grows Wild HERE

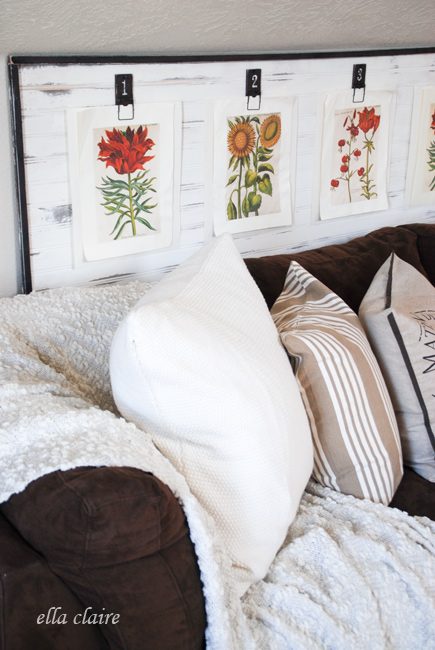
Another changeable gallery wall idea.. using mouse traps!! Tutorial by Ella Claire HERE

From the Recreate Design Company HERE

Even add a shelf or two! From Remodelaholic HERE

Wednesday, 4 September 2013

New Mini Rambow Washi Tape set

New to Stickybird: super cute mini rainbow Washi Tape set! Each roll is 5m and .75cm wide.. find them in my Trademe shop--->

Tuesday, 3 September 2013

Fun With Pom Poms

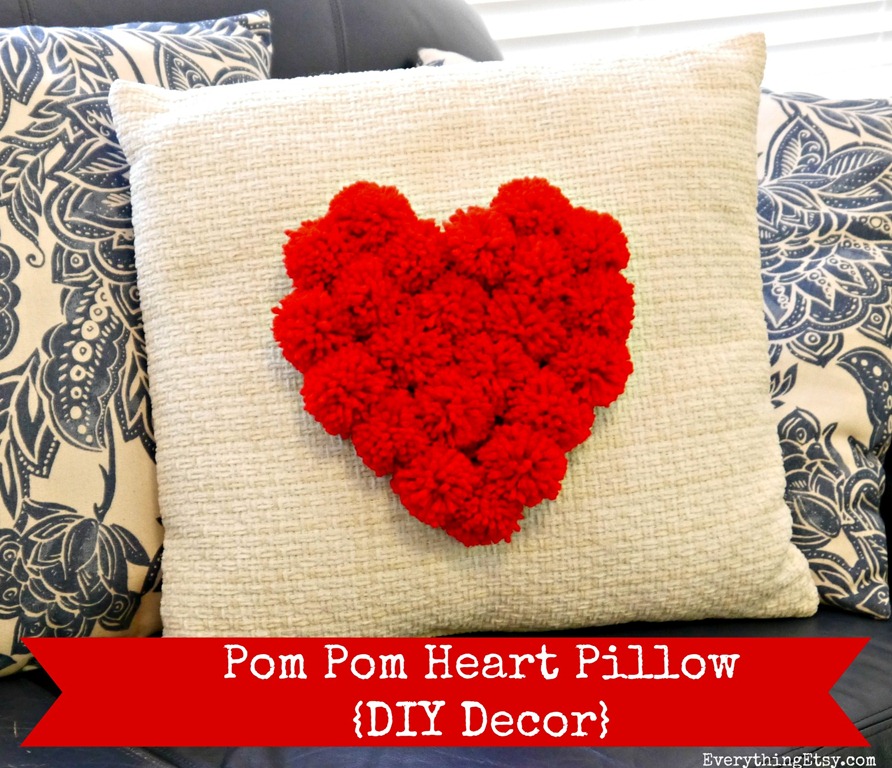
Pom pom Heart Pillow by Everything Etsy Here

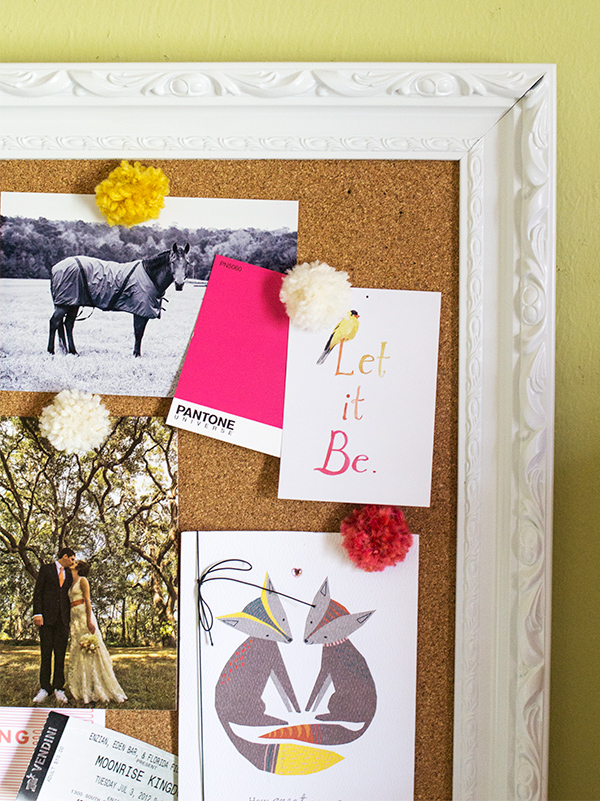
Push pin pom poms by Sarah Hearts Here

Pom Pom Rug by Maize find it here


Brilliant giant pom pom made in one minute tutorial by Handmade Charlotte Here

Pom pom Bookmarks by Raising Up Rubies Here


Tuesday, 20 August 2013

Whats new... Shab Chic Printed Tape

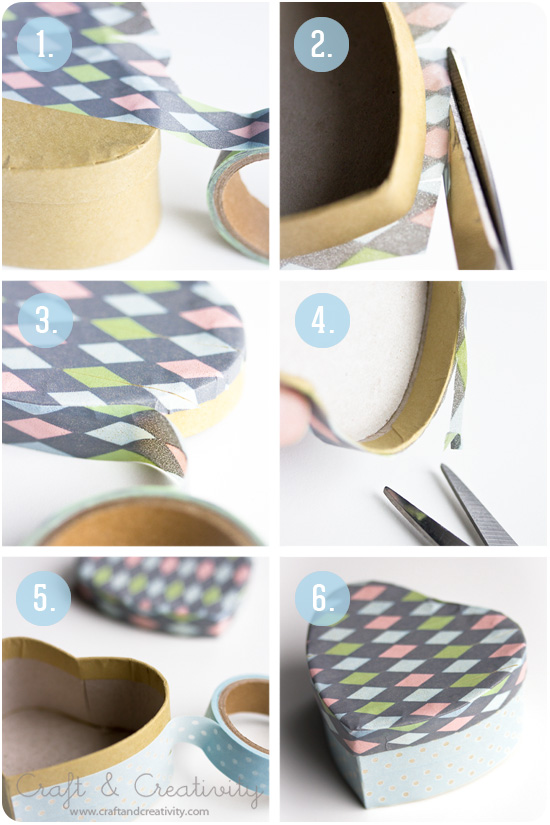
New to Stickybird.. these gorgeous rolls are just like regular cellotape but printed with white designs!
find them at my Trademe Shop

/a>

Thursday, 8 August 2013

Speed Rust and Pantina Tutorial

Sometimes (actually I reckon most of the time :) metal looks better when it has an aged look and whats even better is fast aging! Barbara over at Treasures from the Heart she a great tutorial and here it is..


Needed:
vinegar, white or apple cider
salt, just regular old salt out of my shaker.

For small items.

I fill a quart yogurt container half full of vinegar,
and sprinkle in some salt. (not measured, but guess 1 tsp.??)

dump your keys, clips, hinges, watch parts, locks...
any metal you want to 'age'.

I leave them over night, just 'cause it is convenient.
In morning, I take them out with my tongs (used only for this),
and put them on newspaper.
(you can try a couple hours if in hurry)

I leave them there for the day...again just because it is easy.
(the newspaper does not do anything special,
just keeps mess from getting on anything else. =)

Check to see how they are doing.
If not rusty or blue enough put them in again.
same process,and keep doing that till they are color or degree you want.
(you will see they continue to rust while even sitting out.)
The vinegar works to cut through the surface of the metal,
and the air oxidizes it.

PLEASE NOTE:
Different metals react differently.
Thus, some rust, some patina blue.
Brass is metal that turns blue.

When they are rusty enough, I rinse with water.
(to rinse I have another yogurt container with small holes poked in bottom.
I put them in there, run water over it and then shake water out).
Then dry with a rag..
If you will be handling them a lot I suggest spraying
them with clear sealer, but I have not done that yet.
A little rust never hurt me....=)

I use the same vinegar for weeks....
just add more salt all the time.
You can also sprinkle items with salt while on newspaper.
gives them a sort of splotchy look.

NOTE: some metals take longer to break through surface.
Be patient. if you do it enough times, almost anything will rust.
*Galvanized metal does not rust but this will cause a dull surface.

I pick up any little metal things at garage sales, and rust it all!!
so fun to use on collages, place in bowl as conversation piece.
Use old rusty clips to hold art.....

Thanks again to Barbara at Treasures from the heart were all the above is from

Sunday, 4 August 2013

Chalkboard paint.. making it and using it!

Making your own Chalkboard paint - find the recipe here at A Beautiful Mess


Now you can make it.. what to do with it..


Chalkboard table From Apartment Therapy

Chalkboard fridge from But First Comes Love

Friday, 2 August 2013

Texture Roller DIY


Supplies:

a roller of some sort (cut up pieces of PVC, empty rolls of tape, couplings for PVC, plastic rolling pins from the dollar store or craft store).
a sharpie.
a hot glue gun. They only cost a couple of bucks.
extra hot glue sticks.

Draw your pattern onto the rolling pin. It’s easier to work out the pattern before with a Sharpie than it is later with the hot glue. Think about some sort of connected pattern, they tend to have the best results. And don’t go overboard with the lines, you’ll regret it later. And remember that the hot glue line aren’t going to be perfect, so just go with the imperfection.

While you’re drawing, plug in your hot glue gun. Make sure that you do it on a surface that you can toss when done, like newspaper or cardboard. When you’re done drawing on your design, start gluing. Be a bit heavy handed with the glue. If the lines are too thin, they won’t show up on the clay as well.

After the glue seems cool, start rolling away… The first attempt might stick a bit, but after there is some dusty clay on the roller, it won’t really stick.

Tutorial from Emily Murphys Pottery blog